- 1st Hole
- 2nd Hole
- 3rd Hole
- 4th Hole
- 5th Hole
- 6th Hole
- 7th Hole
- 8th Hole
- 9th Hole
- 10th Hole
- 11th Hole
- 12th Hole
- 13th Hole
- 14th Hole
- 15th Hole
- 16th Hole
- 17th Hole
- 18th Hole
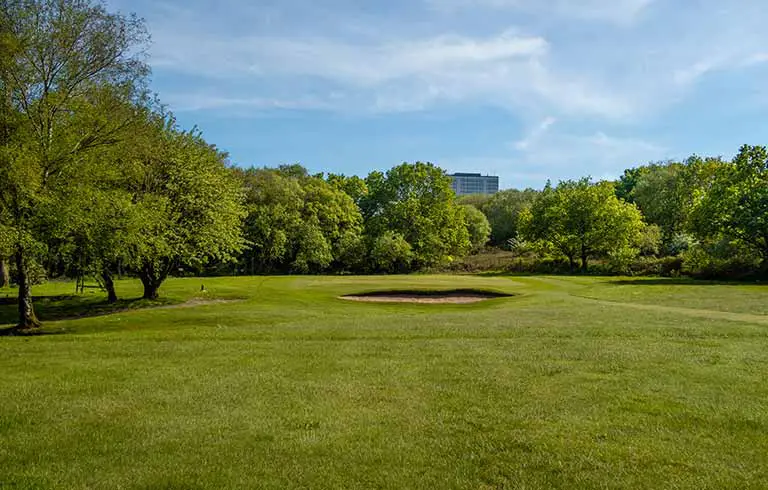
1st Hole
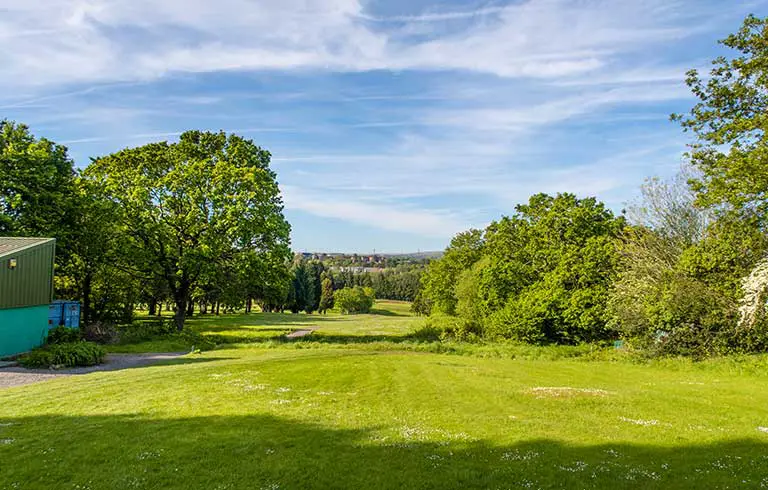
Could be regarded as an easy par 4. Quite an inviting tee shot with the green reachable. The challenge begins with the second shot. A wedge for most, but to a small green guarded by two bunkers and a water hazard, you need to be precise.
2nd Hole
This holes biggest defence is the slopey green. Do not get past the flag or you could find yourself undoing all your hard work. A drive onto a generous fairway leaves an uphill approach to a large green. Keep it left to avoid catching the only bunker.
3rd Hole
Ideally this calls for a high ball flight. Take into account the wind as you may not feel it on the tee. It is safer to come up short rather than go long of this green, when the ground is firm in summer you may find the ball releases down to the Green.
4th Hole
Our signature hole at MGC. Get a good look at what the flag is doing in the wind. After you have chosen your club, aim for the middle of the green and put a positive swing on it. Good Luck!!
5th Hole

Nicknamed the birdcage for its towering conifers around the green. Never has it been so important to hit the fairway off the tee. With the approach shot ensure you get the ball landing on the top level to avoid a long putt up a steep slope.
6th Hole

6th Hole Description
7th Hole

Aim your tee shot left/centre of fairway to avoid the natural slope taking the ball towards the lateral water hazard. A birdie hole for the big hitters but playing safe is advised laying up from the pond in front of the green. With the approach shot, make sure you don’t get above the flag.
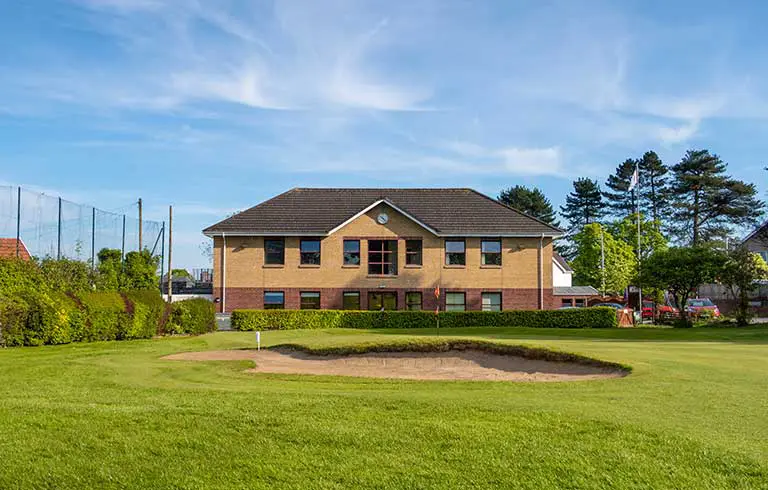
8th Hole
Aim your tee shot left/centre of fairway, this will open the whole green up and hopefully take the greenside bunker out of play. In the summer especially, try and keep the ball below the flag as a putt down the green can be deceptively quick.
9th Hole
Don’t take this short par 3 for granted, leaving your ball in one of the well positioned bunkers is not the set back you want early in your round. Play to the back portion of the green to avoid bunkers and leave yourself on the flattest part of the green.
10th Hole
A long green which can call for a difference in two clubs. First objective is to get over the narrow water hazard ten yards short of the green. Be aware of the wind as it can cause havoc when the ball gets above the trees.
11th Hole
With a fairway sloping right to left it is advised to aim at the hollybush in order to leave a nice angle to fire at the green or possibly lay up. When hitting your approach shot favour the left side as missing the green right makes for a tougher chip.
12th Hole
A three tiered green protected by a deep greenside bunker. It may not look too much of a challenge but with the often swirling wind, finding this green can be tougher than it looks.
13th Hole

The landing area is very narrow for longer hitters so if you do play safe make sure the trees on the right are not restricting your second shot. Like the 4th hole, it is a long green so be aware of the pin position when working out your yardage.
14th Hole
A reasonably straightforward tee shot, however, favouring the left hand side will open up the green. The 2nd shot calls for a little more precision, if not judged right the ball will be rolling back to you. If in doubt play to the heart of the green.
15th Hole
A tough par 3 to finish the front nine. Although there is a fair amount of space around the green. Conditions will control how you play this hole. Trust what the flag is doing in the wind and try and play beyond the bunker.
16th Hole
The longer hitters can hit over the corner but don’t be greedy, hitting the fairway is a big advantage when playing your approach shot. A long narrow green can play havoc with the club selection, middle of the green is a safe bet. You don’t want to short side yourself.
17th Hole
Hopefully you are not walking off a disaster on the 15th because this is an energy sapper. This par 5 is long and straight, when you get in reach of the green you may want to take a little extra club to avoid the deep bunker guarding the green.
18th Hole – Home
Depending on your round so far, the big hitter may want to attack the green firing over the right hand tree in the fairway. Or a simple lay up off the tee will leave a pitch in to a long green with a bunker either side. Too far and you will end up in the Captain’s Bar!